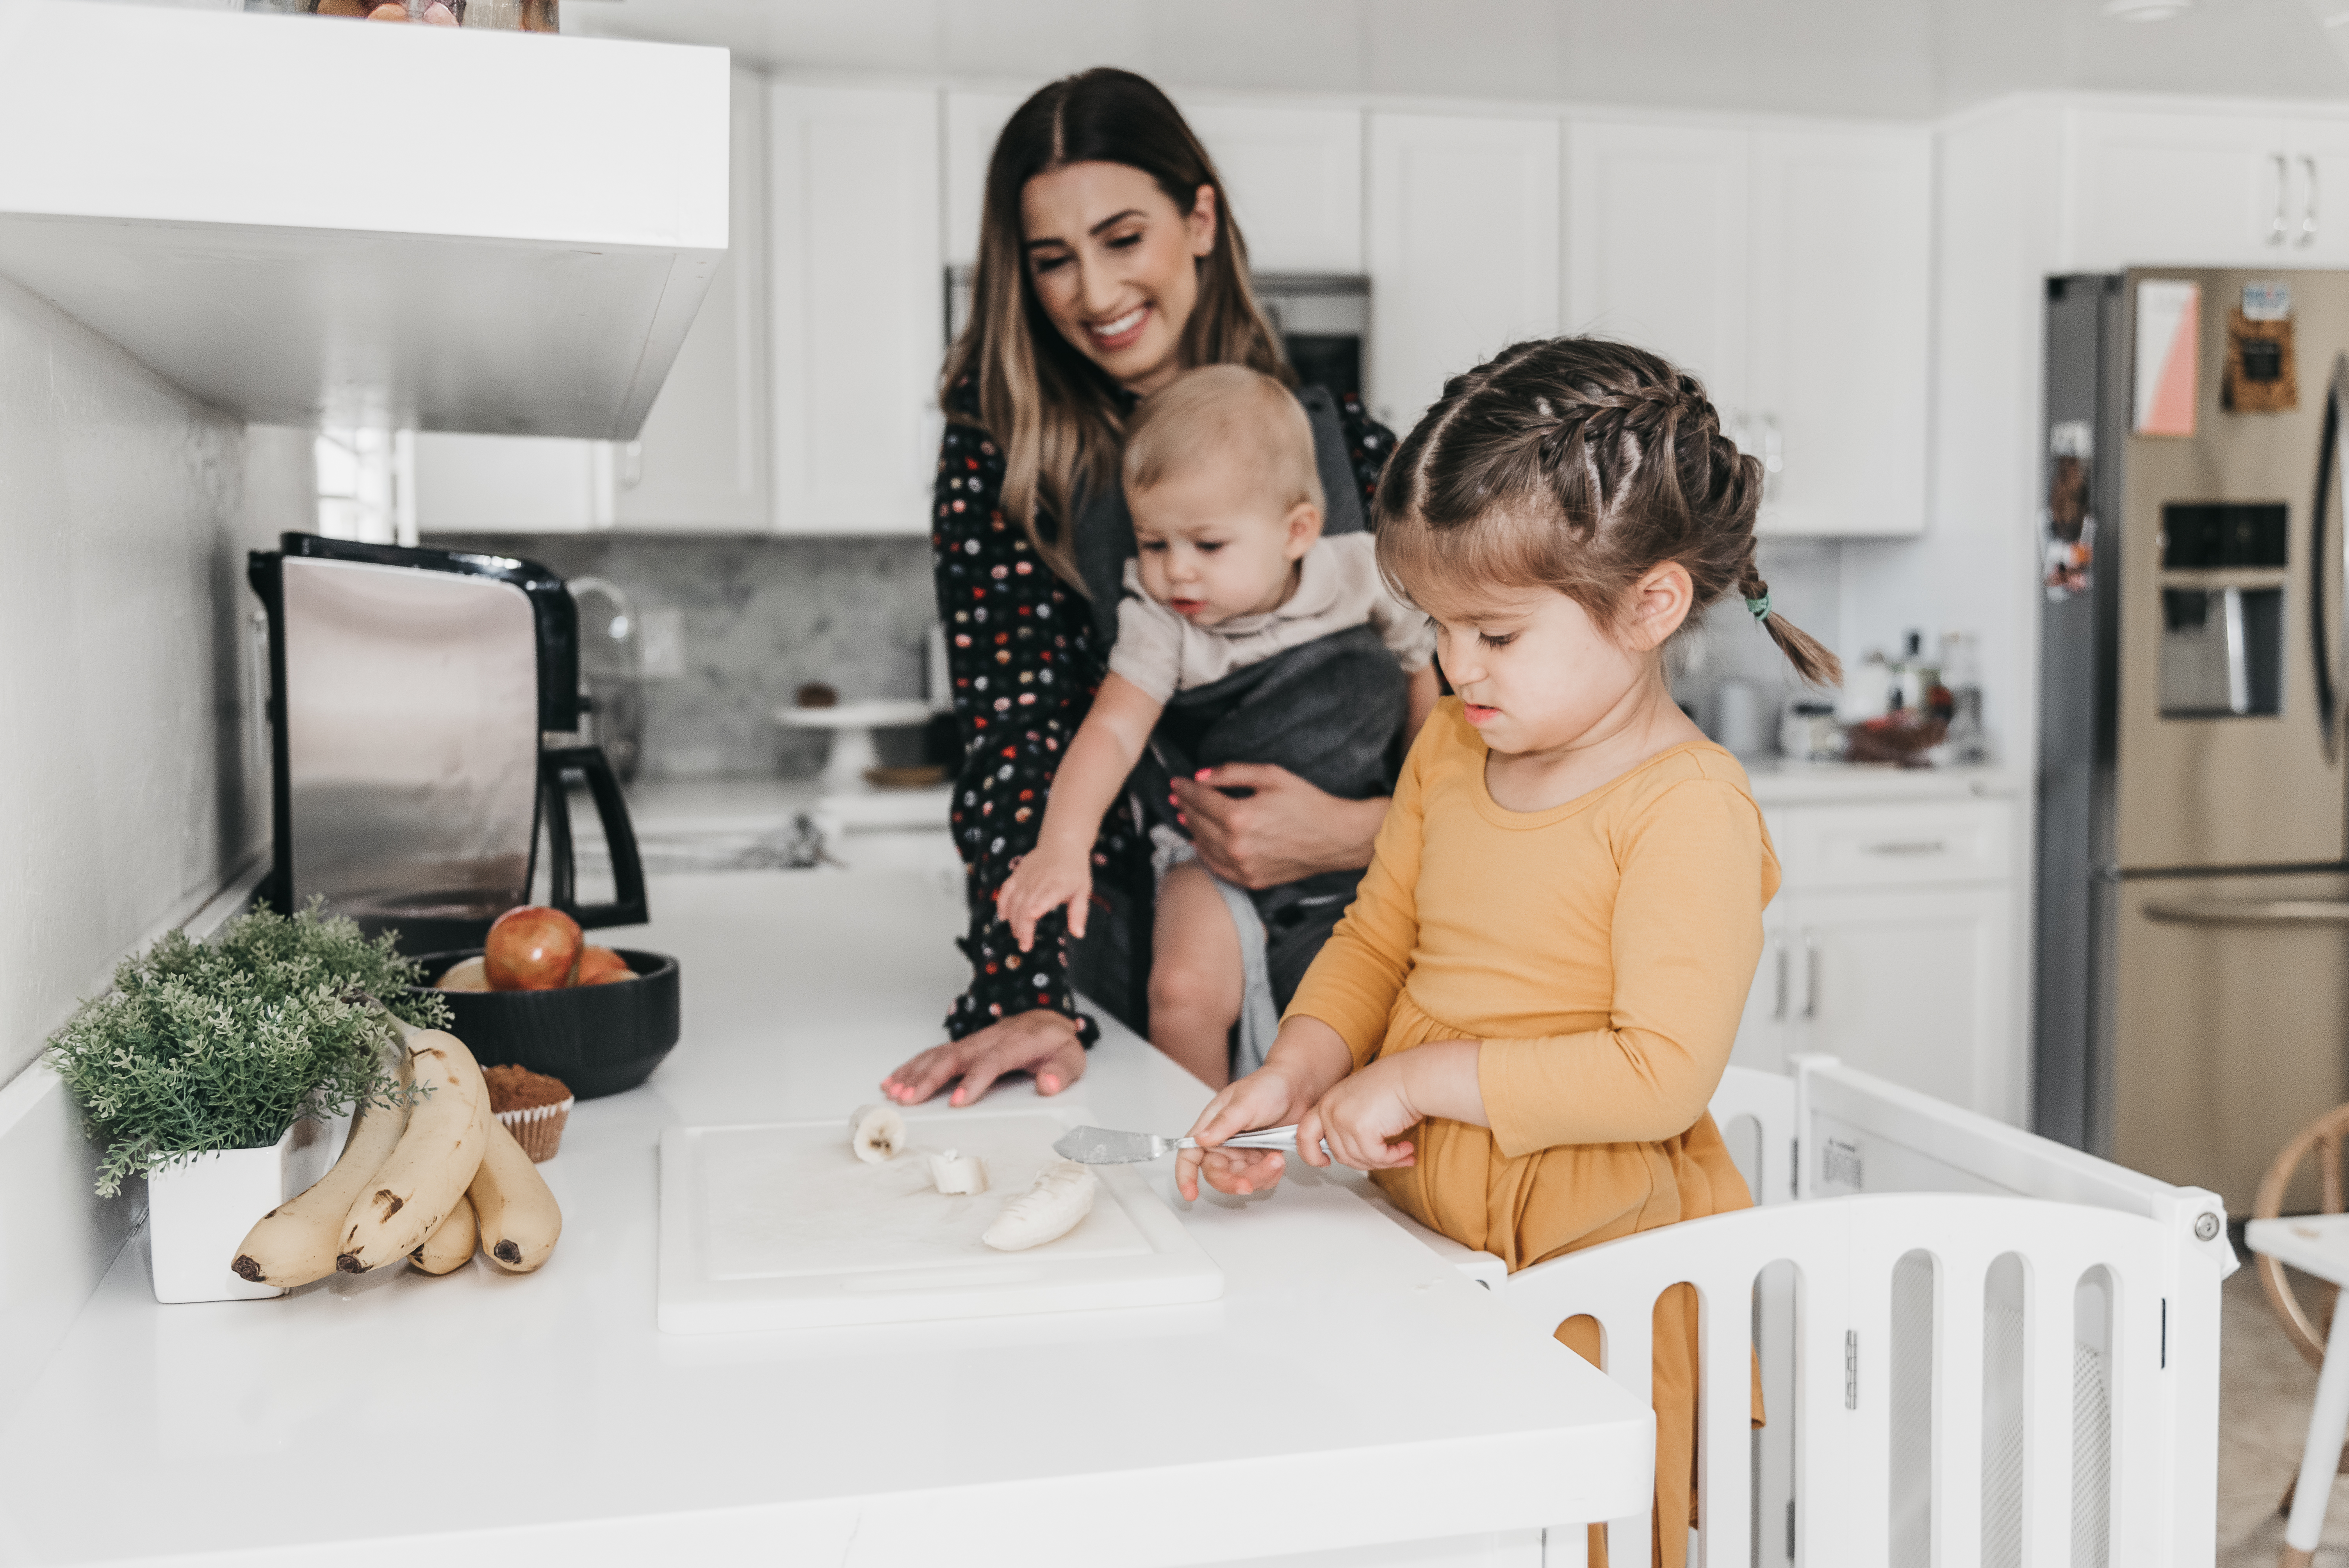
At about two to two and a half years old, Vivienne showed high interest in being in the kitchen with me. Whether she wanted to imitate what I was doing or was eager for food, nothing was quite keeping her attention for long periods of time. I also had moments of feeling guilty when I would direct her to the TV, so I could get a few moments of cooking without having a toddler at my feet. I remember seeing my friend’s toddler (we’re actually just friends on social media) standing on what appeared to be a type of stool and I quickly reached out to him on what it was all about.
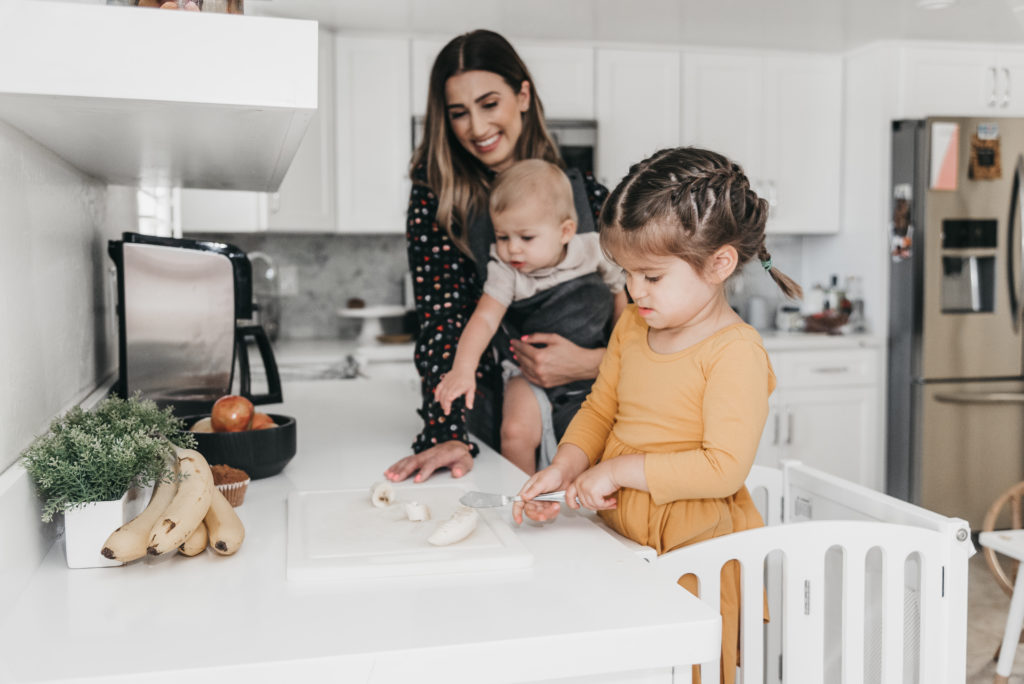
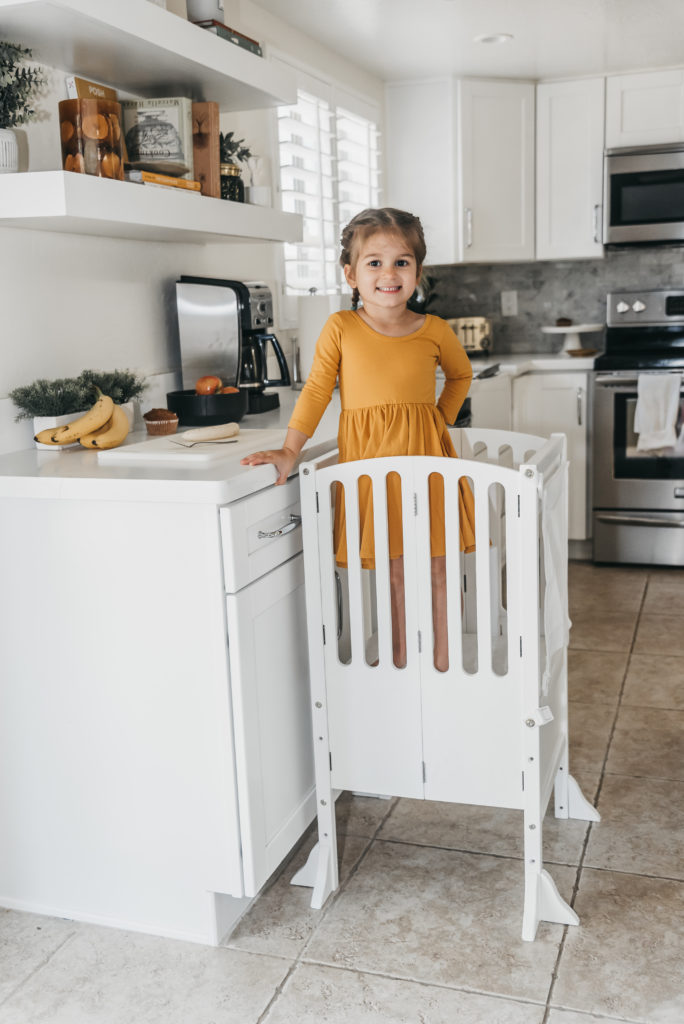
The Kitchen Helper elevates toddlers to countertop height, where you can create a fun and safe environment for them to help in the kitchen. The stool can be used for crafting, cooking, cleaning, and everything in-between! I was sold! I went ahead and made the purchase on Amazon and a few days later it arrived, and Vivienne was SO excited to be able to stand at the countertop and help me more. What’s unique is its ability to easily move, fold, and store… yet, I keep it in a corner of my kitchen as we use it daily. I give her tasks such as stirring, adding condiments, washing dishes, and as of late (with Meg from More Momma’s help), I’ve introduced her to cutting. I have really loved owning this product, and even though I know we see so many options on social media, I too was influenced, and SO happy that I was! Vivienne loves it, and it allows me to keep Vivienne’s attention while I make breakfast/lunch/dinner.
Meg the creator of More Momma is an Italian trained chef and fellow mom and Guidecraft user. She uses the Kitchen Helper Stool everyday with her 3 small children. She has taught me how to get Vivienne involved using knives safely, while also giving some great tips on how to easily involve kids in the kitchen without added stress.
Here are her top tips to teach knife safety to children and get them in the kitchen:
Tip #1: Teach knife safety before you let them use a knife. I teach knife safety first through play. We first use a plastic knife and play “kitchen” or “restaurant” together.
Here are some of the things I say to my kids while playing:
“We always ask mommy or daddy to get our knife for us.”
“We never play with knives, we just use them to cook.”
“Using a knife is such a special job, we have to be really careful when we use them.”
“We always need to use our claw and saw.”
“We need to hold our knife like this.”
“We always need to curl our fingers under so we don’t cut them.”
Teaching through play helps prep them for the real thing. I model how to hold the knife and show them how to use it through a fun game or imaginary restaurant scene. Use your imagination and have fun with it!
Tip #2: Get them counter level and in a secure environment. The Kitchen Helper stool by Guidecraft elevates toddlers to be counter level, which allows them to be in the right posture to begin cutting and using a knife. It also is a safe place for them to be if they do slip or get off balance.
Kids are learning fine motor skills when cutting and using knives. Sometimes they do not recognize the weight of their own bodies or do not know how much pressure to apply to any given object. The Guidecraft Kitchen Helper has a back to the stool which ensures that they will not fall off if they do slip up.
Tip #3: Secure your cutting board. Cutting boards are another reason for many mishaps in the kitchen. If your cutting board is moving all over the place, so is your knife. Secure your cutting board by simply placing a wet paper towel under the board. Only use plastic or wooden cutting boards. Glass is not a steady surface and can cause major knife slippage.
Tip #4: Use age appropriate knives. I recommend these knives for children ages 2 ½ -5. Here are other suggestions for age appropriate knives.
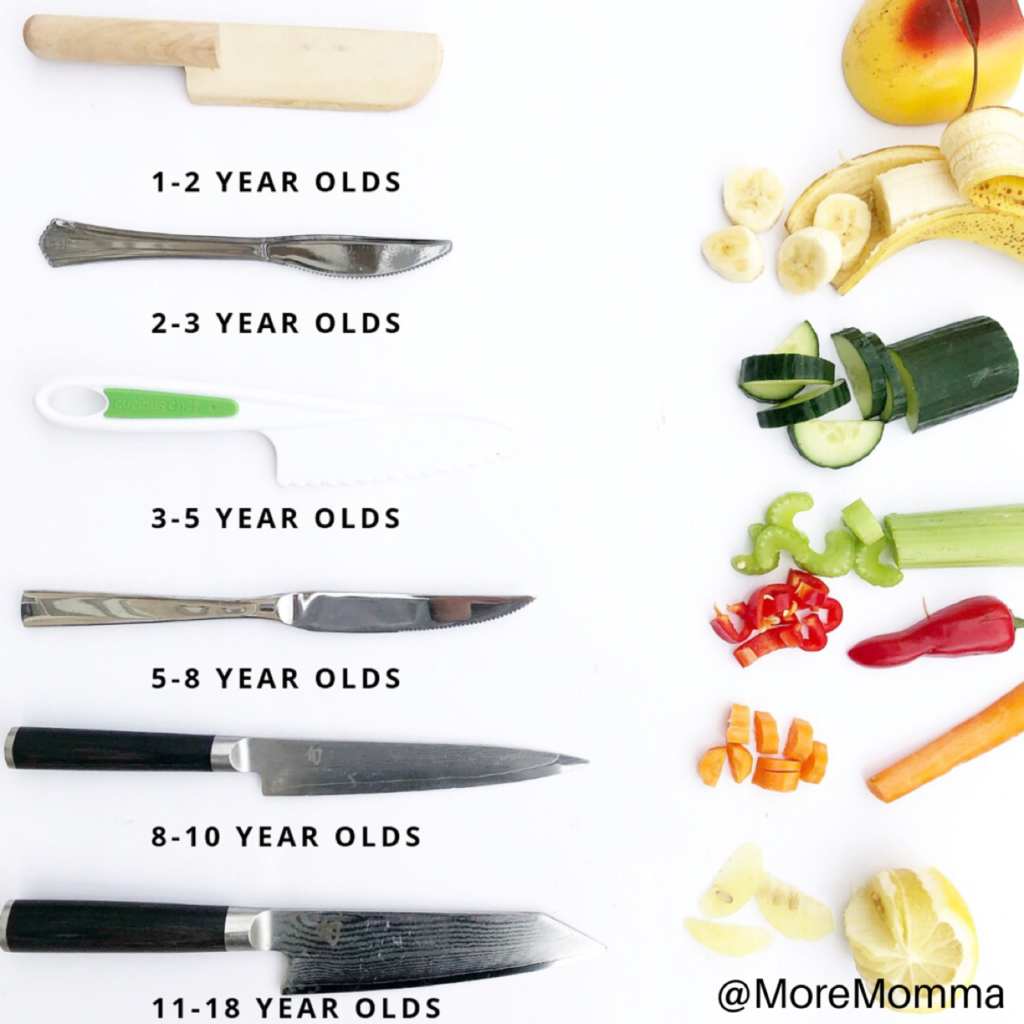
Tip #5: Make sure the items they are cutting are not rolling on the cutting board. Sphere shaped items should be cut in half by an adult first and placed cut side down for the child to cut.
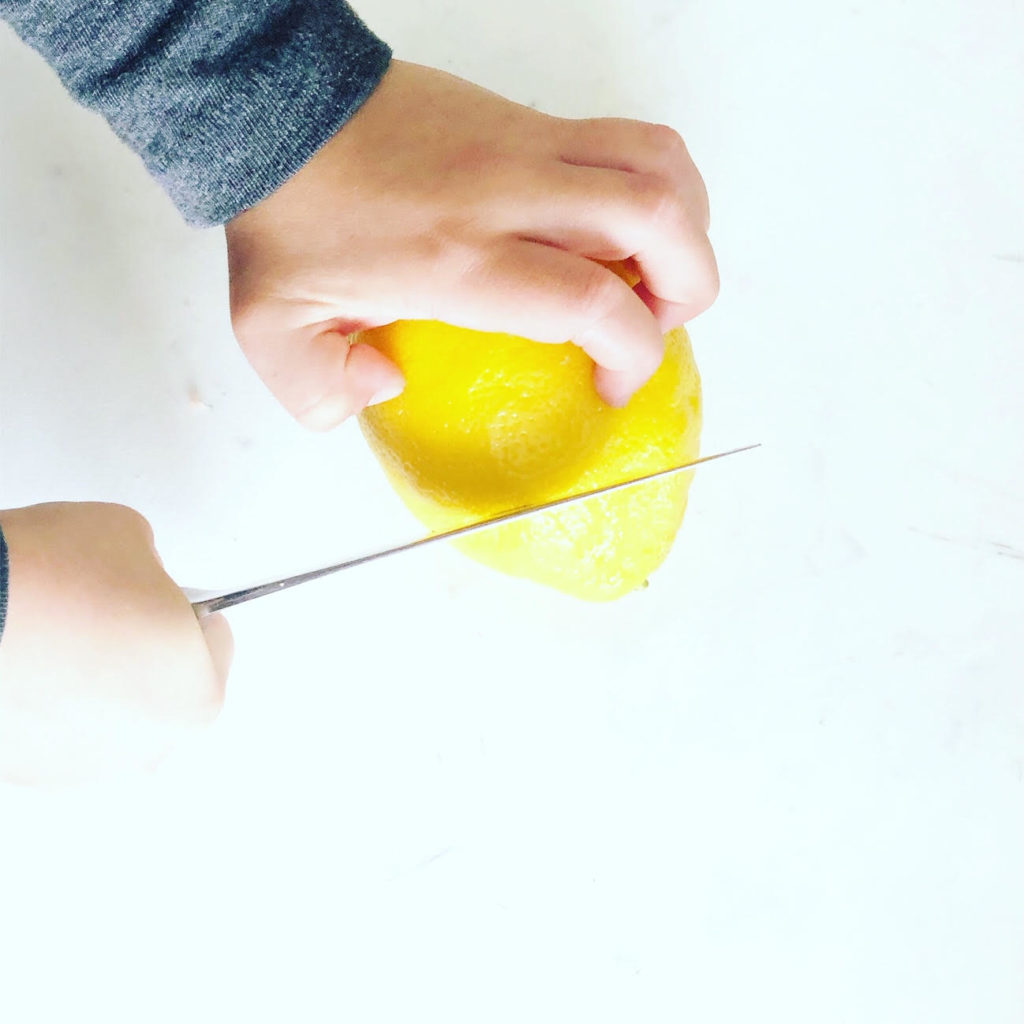
Tip #6: Teach the claw and saw technique. This will be your child’s main knife technique. Have you child hold their knife with a firm grasp in their right hand (if right handed) and form a claw with their left hand. They will hold the food item with their claw and then move the knife back and forth in a sawing motion to cut through the item. I recommend starting them off with cutting soft items like bread or bananas and then move them up to cutting items that are a little harder like celery and cucumbers.
Claw and Saw
Tip #7: Teach them other knife safety tips like how they wash a knife, where they store their knives, and how they always need to hold their knife pointed to the ground while walking.
Tip #8: If you are in a hurry to make dinner, give them jobs that do not involve ingredients for the meal. For example have them wash and dry fruits and vegetables from the fridge or have them involved in meal prepping some items for a dinner later on in the week. Things like washing and drying produce, grating cheese (ages 4 and up), chopping vegetables or fruits, or even putting snacks in baggies for lunches for the week are all great ideas.
Teaching kids how to cook can be a rewarding and special experience when you have the right tools to help them. The main tool you need is a stool to help them safely be involved in the cooking process.
Now that we have addressed the important steps to keep kids safe and entertained throughout the Holiday season, we are SO excited to announce a fun GIVEAWAY with you! Meg and I have partnered with Guidecraft to give ONE Kitchen Helper stool to TWO of my followers! Be sure to check out my latest IG post on rules to enter.
